
It is important to revisit the structure of the project and the responsibilities of each of the folders within, because as the project grows we move back and forth between these:
- config: handles the connection to MongoDB
- controllers: holds the logic for manipulating data in the database
- models: contains the “shape” of the data
- routes: is where your front-end will find the different access point pass its requests for data.
- utils: will contain functions that help any part of the server run.
So far we have the connection to the database in the config folder done, the basic models for handling data, and the routes. However, if you try using the functionality of any of the routes using http://127.0.0.1:8000/docs or PostMan for example, nothing will happen because there are no “controllers” yet. We have to add, at the very least, the four basic controls Create, Read, Update, Delete (or CRUD for short).
In the beginning there was hash
Logically, one should create a user as the first document to add to the database. However, since we are going to request that the user provide a password to register and to use the same password for every subsequent login, then we must have a way to verify this password.
Saving passwords in your database is not secure and must never be done … unless what you are saving is an encrypted hashed code that can be used later for authentication.
This function, the password hasher, is neither a route nor a controller, so I place it in the utils folder. The code looks like this:
1
2
3
4
5
6
7
8
9
from passlib.context import CryptContext

pwd_context = CryptContext(schemes=["bcrypt"], deprecated="auto")


def get_password_hash(password) -> str:
    """Makes hash of a plain-text password"""
    return pwd_context.hash(password)
We imported passlib when we first created the FastAPI server. We pass the new user’s password (see line 6) so that all we have access to is a random encrypted string, which we wouldn’t be able to reverse decrypt to reveal the original password used. This function, can now be called to use in the controller that will create a new user.
And then there was User
All controllers are paired to their corresponding Models. Since we have a base model for User and Plant, then we should create two files inside the controllers folder: user_controllers.py and plant_controllers.py.
Inside the user controllers file copy the following code:
1
2
3
4
5
6
7
8
9
10
11
12
13
14
15
16
17
18
19
20
21
22
23
24
25
26
27
28
29
30
31
32
33
34
35
36
37
38
39
40
41
42
43
44
45
46
47
48
49
50
51
52
53
54
55
56
57
58
59
# from fastapi.encoders import jsonable_encoder
from fastapi import HTTPException, status


from models.user_model import UserIn, UserMongoDB
from utils.password_hasher import get_password_hash


async def create_user(user: UserIn):
    """Creates a new user:
    Verifies that neither email nor username already exist in db
    if they don't, then it passes them to function add_params(), which hashes the password and replaces it with a hashed_password equivalent.
    Saves the returned object from add_params() to the db.

    Exceptions are handled by FastAPI through the use of HTTPException module.
    """

    user_email = await UserMongoDB.find_one({"email": user.email})
    user_username = await UserMongoDB.find_one({"username": user.username})

    if user_email is not None:
        raise HTTPException(
            status.HTTP_409_CONFLICT, detail="user with that email already exists"
        )
    if user_username is not None:
        raise HTTPException(
            status.HTTP_409_CONFLICT, detail="user with that username already exists"
        )

    register_user = add_params(user)

    saved_user = await UserMongoDB.create(register_user)
    return saved_user


def add_params(user_in: UserIn):
    """
    Adds the parameters passed to a user model:
    Makes hash of the plain-text password
    Turns the pydantic user_in into a dict(), without the password
    adds email, username and a newly-created password_hash to a UserMongoDB model.
    Creates a default avatar.
    returns the model
    """
    hashed_password = get_password_hash(user_in.password)
    user_dict = user_in.dict(exclude={"password"})

    user_name = user_dict["username"]
    uri = f"https://api.multiavatar.com/{user_name}.png"
    avatar_dict = {"public_id": None, "uri": uri}
    user = UserMongoDB(
        email=user_dict["email"],
        username=user_dict["username"],
        password_hash=hashed_password,
        avatar=avatar_dict
    )
    print(user)
    return user
For an explanation of how these two functions work together, you can read the doc strings under each function definition. To note here is “(user: UserIn)” which you see in each function definition (line 9 and line 34). You could just use “user”, but by adding the type “UserIn”, it indicates that the data should match the shape of the Model “UserIn” and Pydantic will check that it complies.
The model “UserMongoDB” is used in line 16. This is a Beanie model which is able to use the usual mongo commands to work with the database. In this case, it is using the “.find_one” method to search for a user by “username”.
what’s with all that code in lines 46 - 53 relating to avatar?
There is a fun website that generates cartoon images that can be used as avatars for any user, simply by adding the name of the user in the url.
So I have made it so that every time a user is created, it will aways have an avatar image, which can be changed in the future. Lines 46-48 create and object that is passed to the “avatar” field of the UserMongoDB document created in the database.
The route to creation
All that is left to do to make use of this functionality is to add it as one of the routes for the user.
Open your user routes and replace the “/create” route with the following:
1
2
3
4
5
@user_router.post("/create")
async def add_user_to_db( user: UserIn):
    new_user = await create_user(user)

    return new_user
At this point I encountered an error on my terminal:
ImportError: email-validator is not installed, run 'pip install pydantic[email]'. But for this install to work properly, you should have quote marks around pydantic[email], as such:pip install 'pydantic[email]'.
I am copying and pasting code from a previous version of this app, so there is a small chance that some imports may fail because of spelling differences between the old and new versions. Check spelling to correct these.
The Moment of Truth
Now if you travel to http://127.0.0.1:8000/docs and expand the tab users/create you should see the UserIn model displayed as an example schema for the request body with email, username, and password like this:
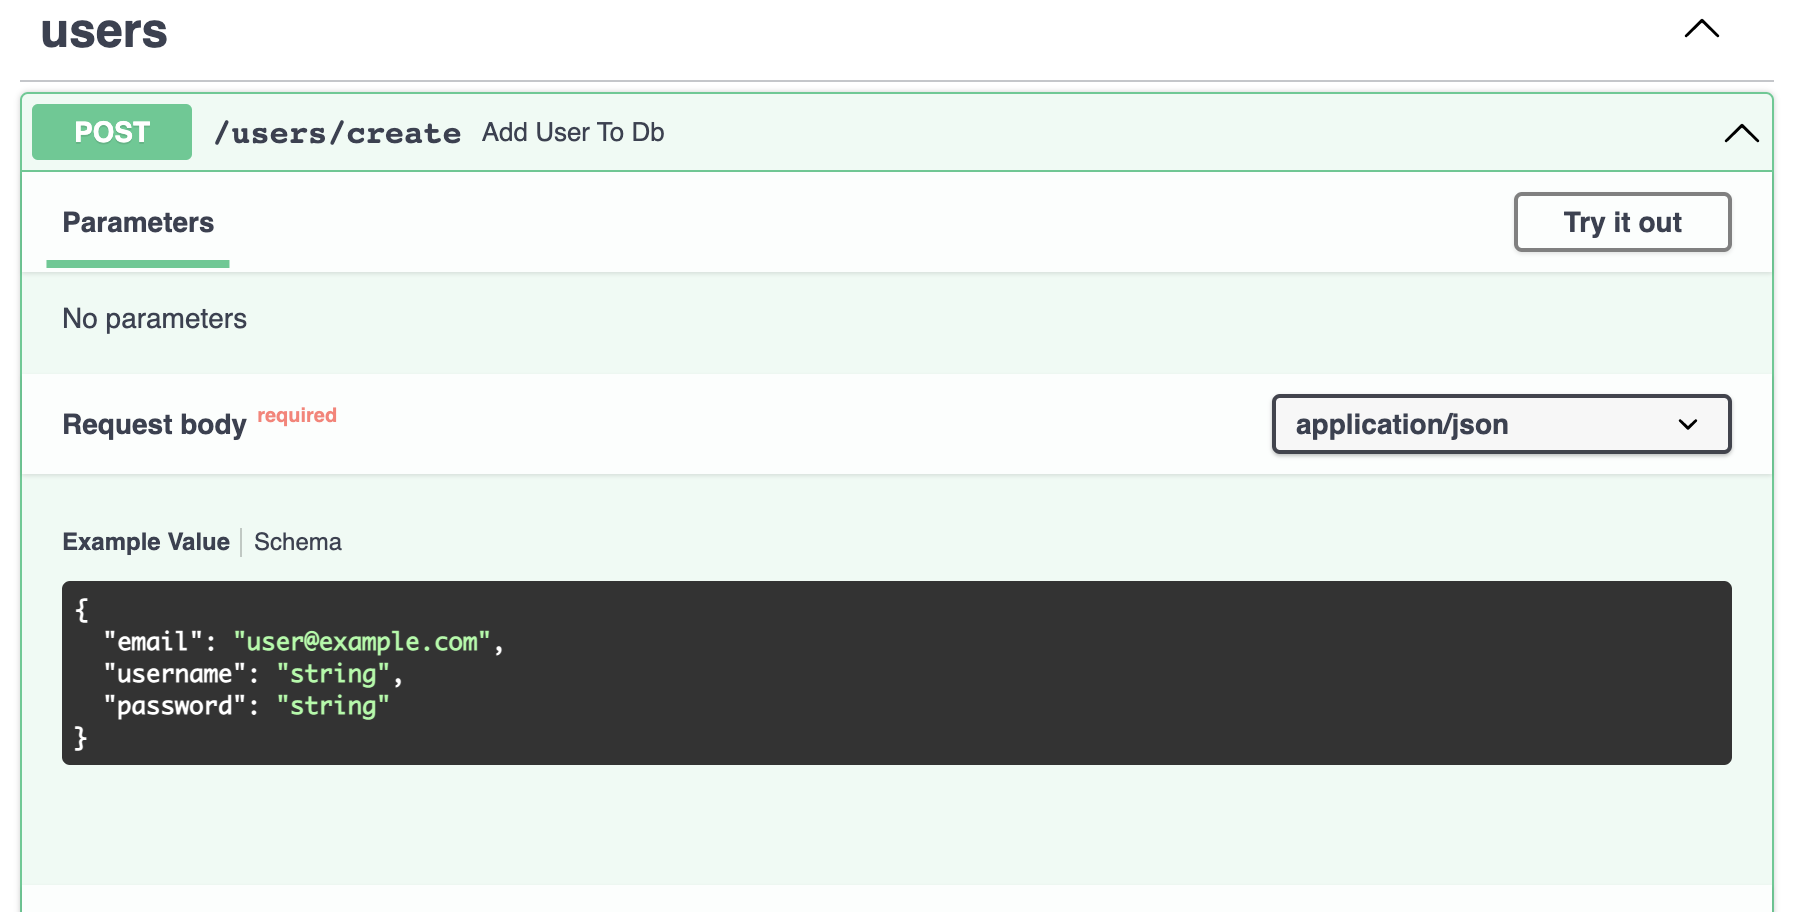
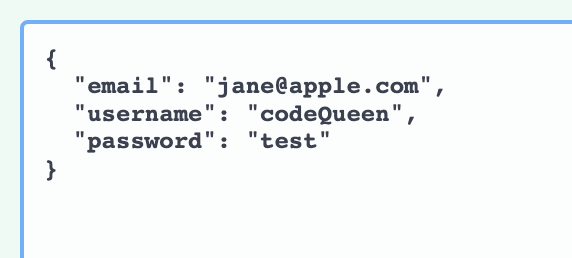
If you click on “Try if out”, then you can replace those values by new ones.
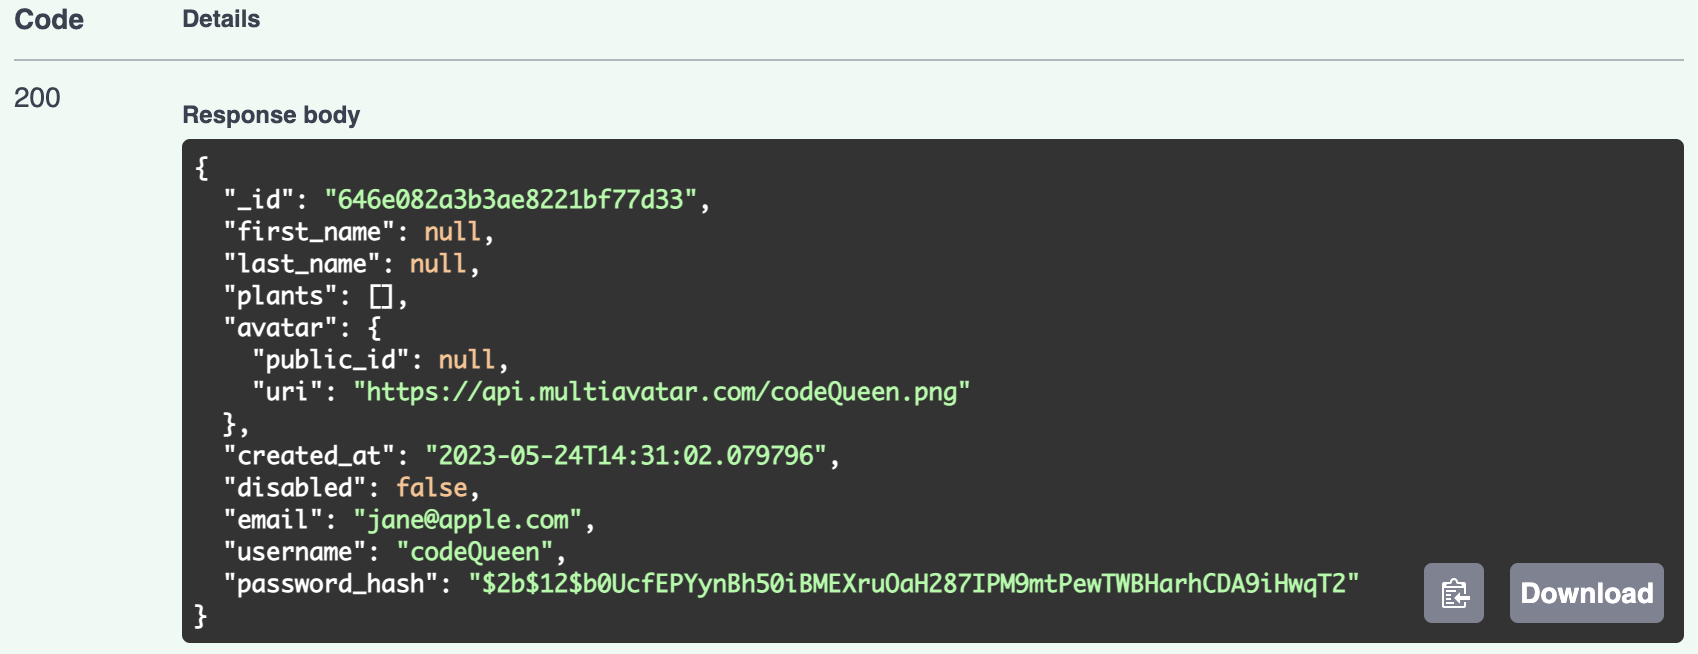
If all goes well, when you hit “Execute” you will receive a response with the data of the new document you created, using the shape of the UserMongoDB model:
One of the most common errors I get at this stage looks something like this:
... raise CollectionWasNotInitialized ... beanie.exceptions. CollectionWasNotInitialized. This usually indicates a fault in creating the Database and or Collection in MongoDB through the init_db() function in the db.py file. You should verify that everything is correctly spelled, that your MONGO_URI string is correct and includes your username and password and that the function is correctly imported and called in the main.py file.
Conclusion
We created our first document in the database using the UserMongoDB model. We achieved this by creating the function in controllers, calling that function in the “/create” route, then using the OpenAPI interface at http://127.0.0.1:8000/docs we passed sample values in the body of the request, to receive a successful response with all the fields of the UserMongoDB model.
In the next posts we will see how to create a Plant for our user, finish the CRUD functionalities for our User, then finally attempt the authentication.